Quick Overview
International-standard Export Documents in 10 easy steps
These are the general steps to take to produce a set of Export Documents for a shipment. To find out more about the ways each step can work to make your life easier, read through the ITDocs in Depth section.
Step 1: Log In
Point your browser at intertradedocs.com and click on Login.

www.intertradedocs.com
You will be taken to the Login screen.

The Login screen
From the Main Menu you can access all of ITDocs.

Main Menu
Step 2: The Navigation Bars
When you first open www.intertradedocs.com, you see a single navigation bar at the bottom of the screen.

The standard Navigation Bar
Once you have logged in, a second Navigation Bar appears at the bottom of your screen:

The Navigation Bar when logged in
Use the top row of links to move around within ITDocs.
Step 3: Add the Parties
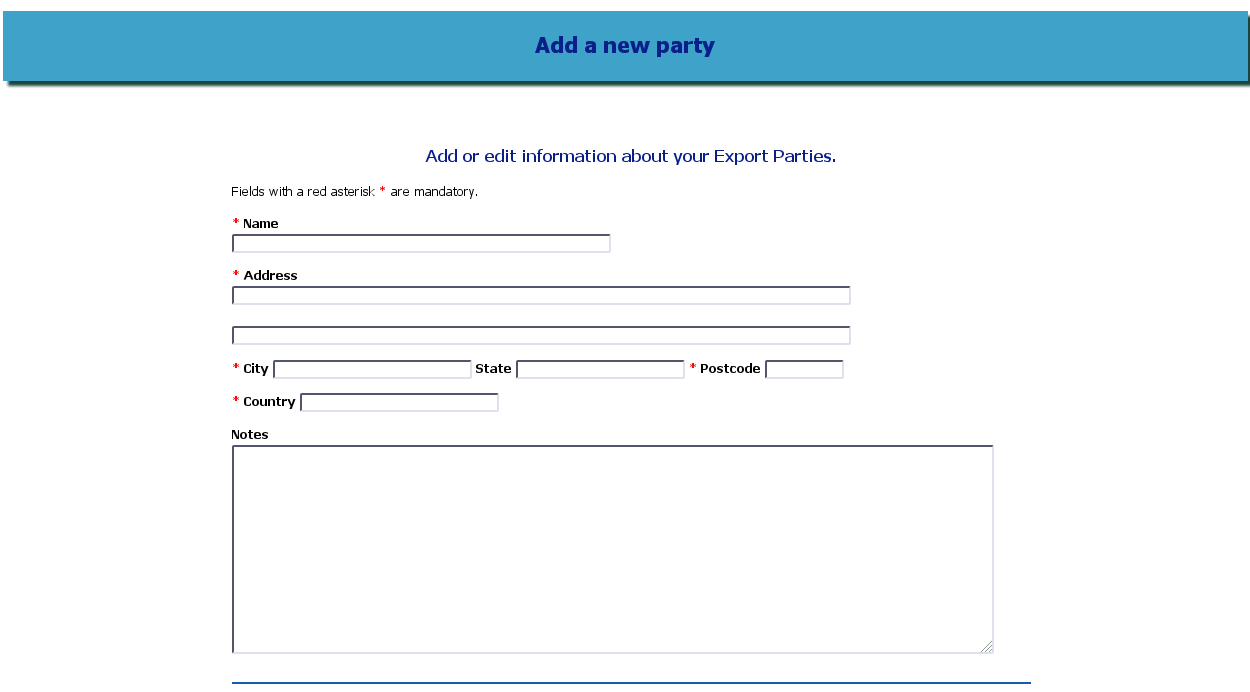
The Add Party screen - Name and Address
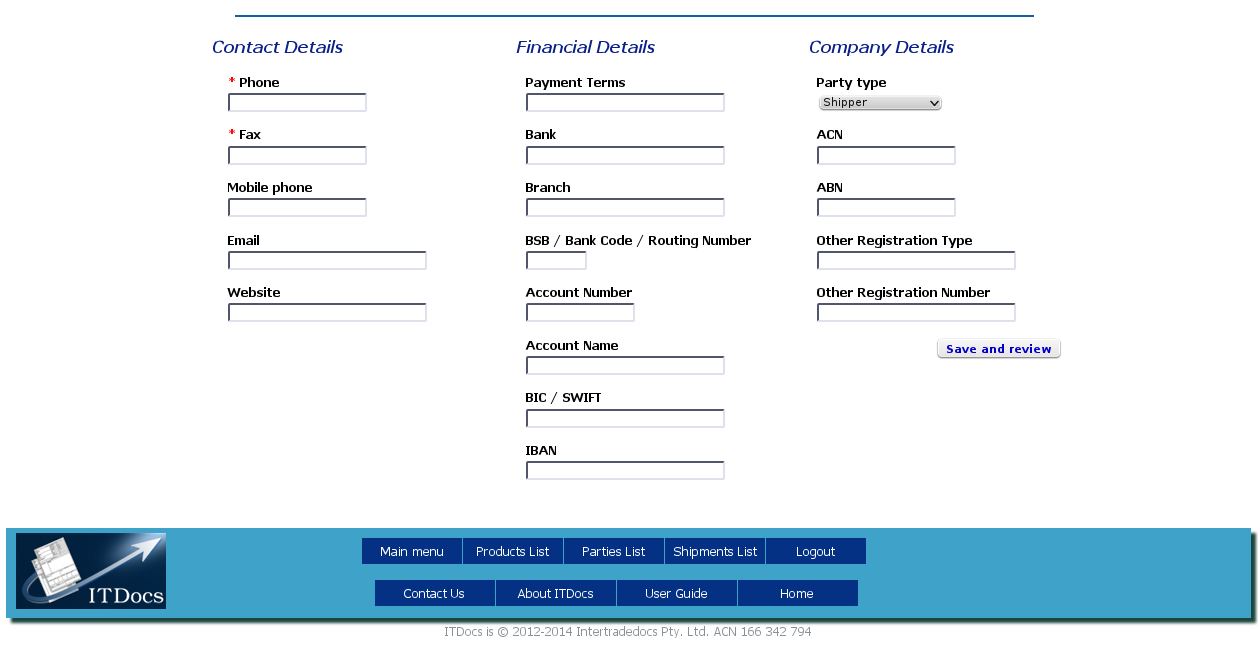
The Add Party screen - other details
-
Click on the Add a New Party link on the Main Menu.
-
Enter the details of the party.
-
Click Save and Review to save and review your data.
-
Do this for all the parties to this shipment; Shipper, Consignee, Freight Forwarder and any other required parties.
-
ITDocs will prompt you to add any necessary data when you click Submit.
When you have finished entering Parties, click on Main Menu on the Navigation Bar at the bottom of the screen to return to the Main Menu.
Step 4: Add the Products
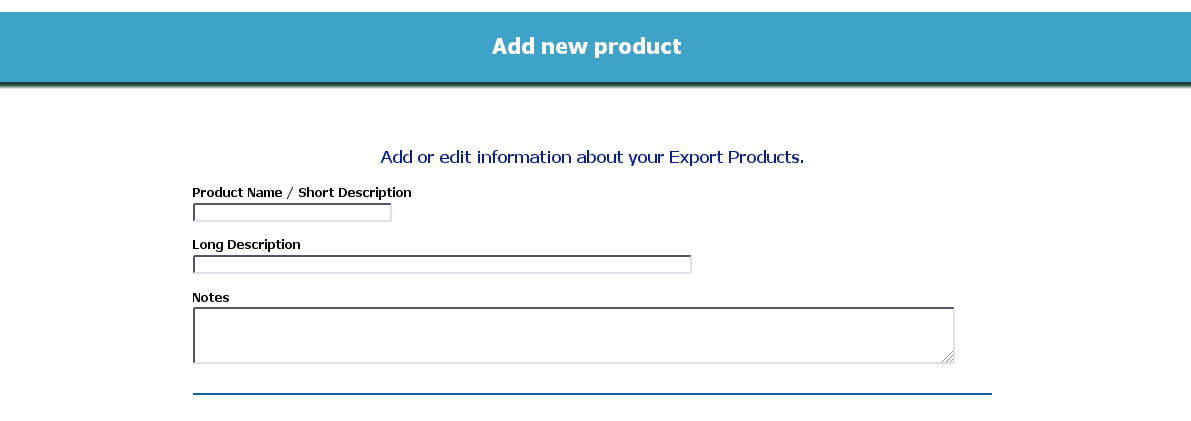
The Add Products screen - top
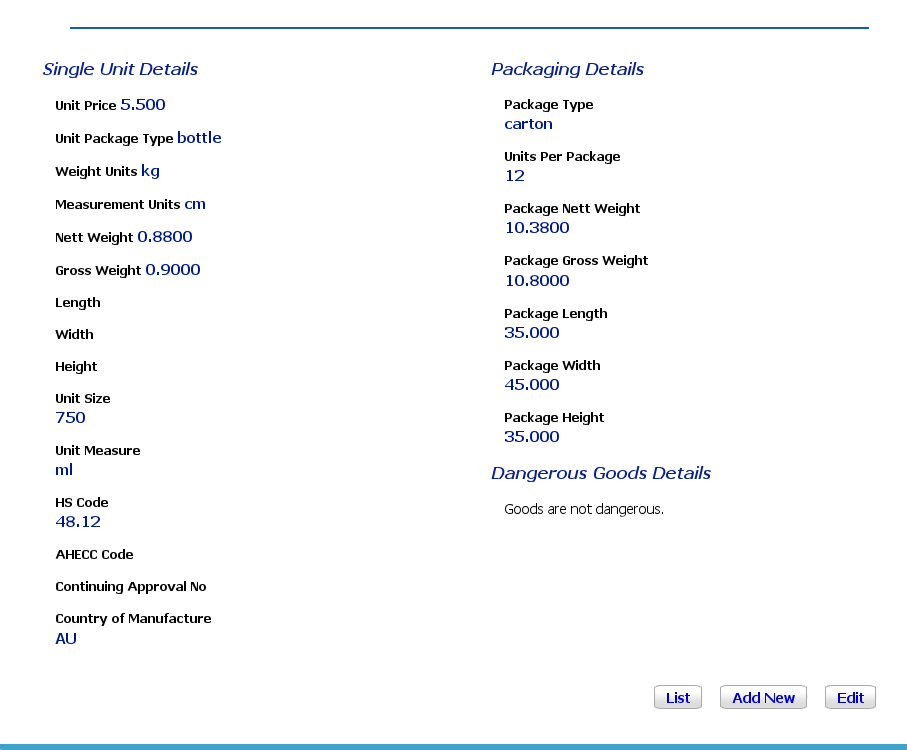
The Add Products screen - bottom
-
Click on Add a New Product on the Main Menu.
-
Enter the details of the product.
-
Click Save and Review to see your saved data.
-
Do this for all the products you need for this shipment. ITDocs will prompt you for any necessary data when you click submit.
When you have finished entering Products, click on Main Menu on the Navigation Bar at the bottom of the screen to return to the Main Menu.
Step 5: Create the Shipment
Click on Create a New Shipment on the Main Menu.
-
Enter all the data you have on the 5 screens:
-
International Transport
-
International Clearance
-
Domestic Transport
-
Commercial Invoice
-
Packing List
-
At the bottom of each screen, click Save and Continue to save the data and move to the next screen.
If you haven't entered all of the Parties to the Shipment before you begin, there is an opportunity on the International Transport screen to add new Parties. Otherwise, you can select from the Parties you have already entered.
All data that is pasted from your existing data can be edited - Party details, product information and pricing and so on. Updates of this kind are saved only in the Shipment data, so that your original Party or Product data is still safe.
When you have completed and saved Packing List, you will be taken to the Shipment Review Screen.
Step 6: Review and Edit the Shipment
On the Shipment Review Screen, you have several options:
-
check and, if necessary, edit parts of the shipment
-
add custom documents
-
review documents before producing them
-
produce the final output documents
-
upload external pdf documents that apply to the shipment
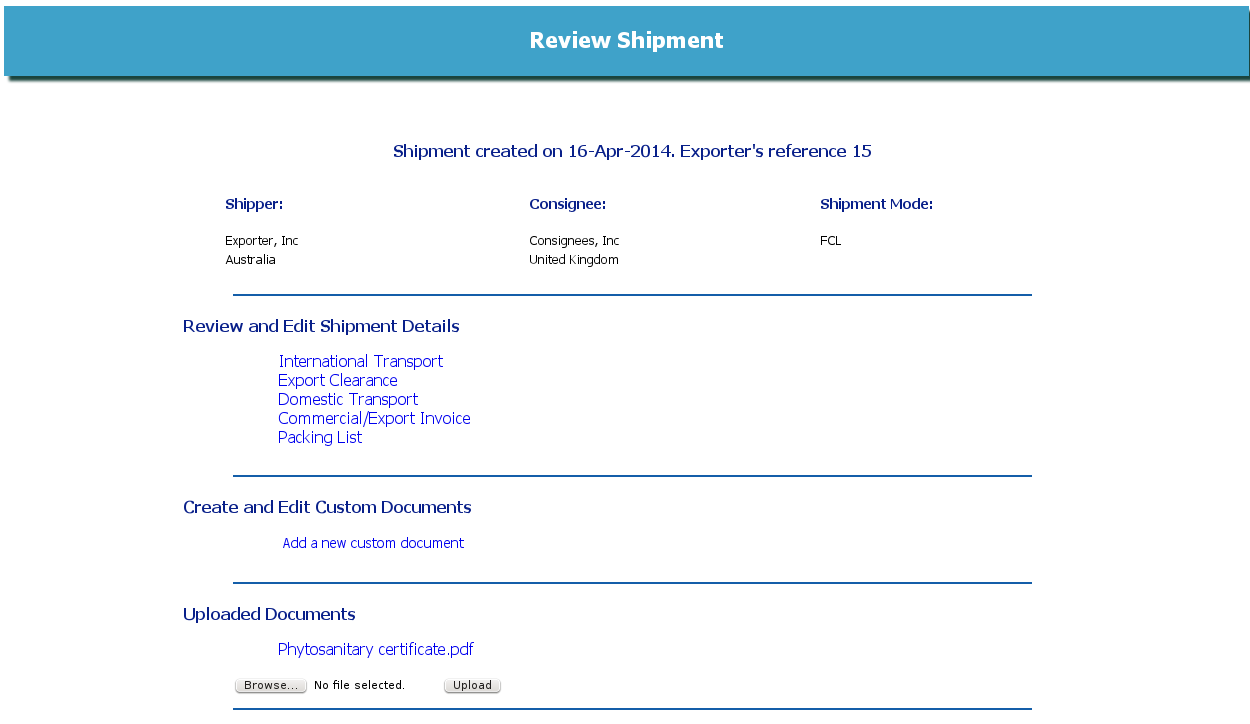
Shipment Review - top of screen
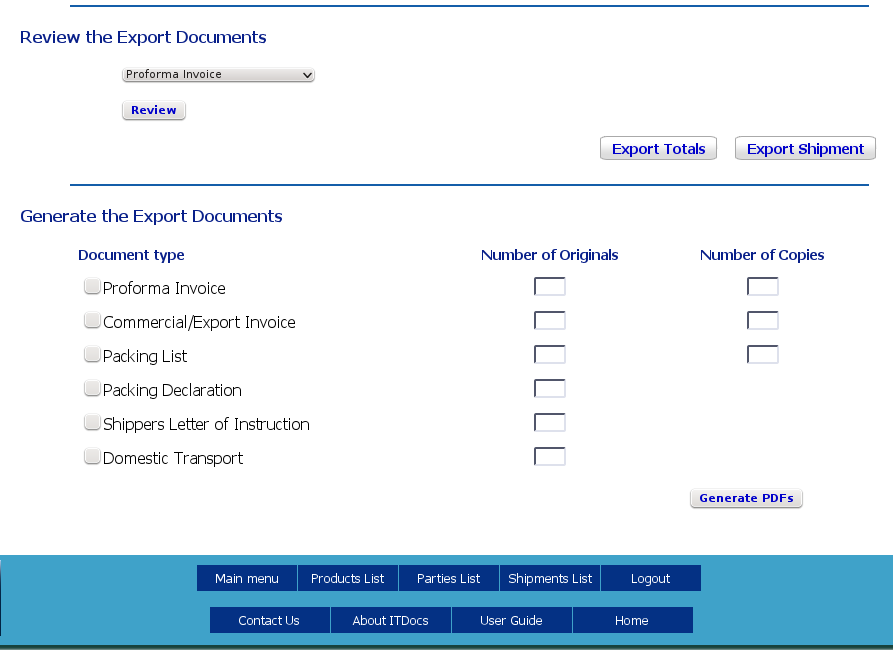
Shipment Review - bottom of screen
Step 7: Check and Edit the shipment
The shipment details are available through a set of clickable links to the various parts of the data:
Step 8: Create and Edit Custom Documents
ITDocs has a feature that lets you create any supplementary document, using the Custom Documents form. The output document has all the core shipment information, so that it can be grouped with the core documents at both origin and destination. Each Custom Document is saved with the shipment it belongs to, and can be edited and re-produced at any time.
Step 9: Review the Documents

Choose a Document to review
Before producing the output documents, you may wish to check them for accuracy and to make sure all details have been included. Here you can select any document, including any of the Custom documents, and click review to display it in your browser.
Step 10: Produce the Documents
On the Shipment Review Screen, check the boxes beside the documents you need to produce, and in the boxes beside each type of document, enter the number of each document you want to produce.
ITDocs will generate a single, multi-page PDF which will open in your PDF reader for saving, printing or emailing.
List, Search and Edit - Parties, Products and Shipments
On the Navigation Bar you will find buttons to list Parties, Products and Shipments. Clicking any of these will take you to the first page of a full listing, with a set of search fields above the list.
Click on the Shipment number, Party name or Product name if you know it, or enter relevant search criteria into the fields and click Search.
Once you have found the Shipment, Party or Product you want to edit, click on the Edit button on the bottom right for Parties or Products, or use the Shipment Review screen to edit a Shipment.
Need to know more?
For more in-depth information, please continue to Intertradedocs in Depth.
< First Use | Intertradedocs in Depth >


